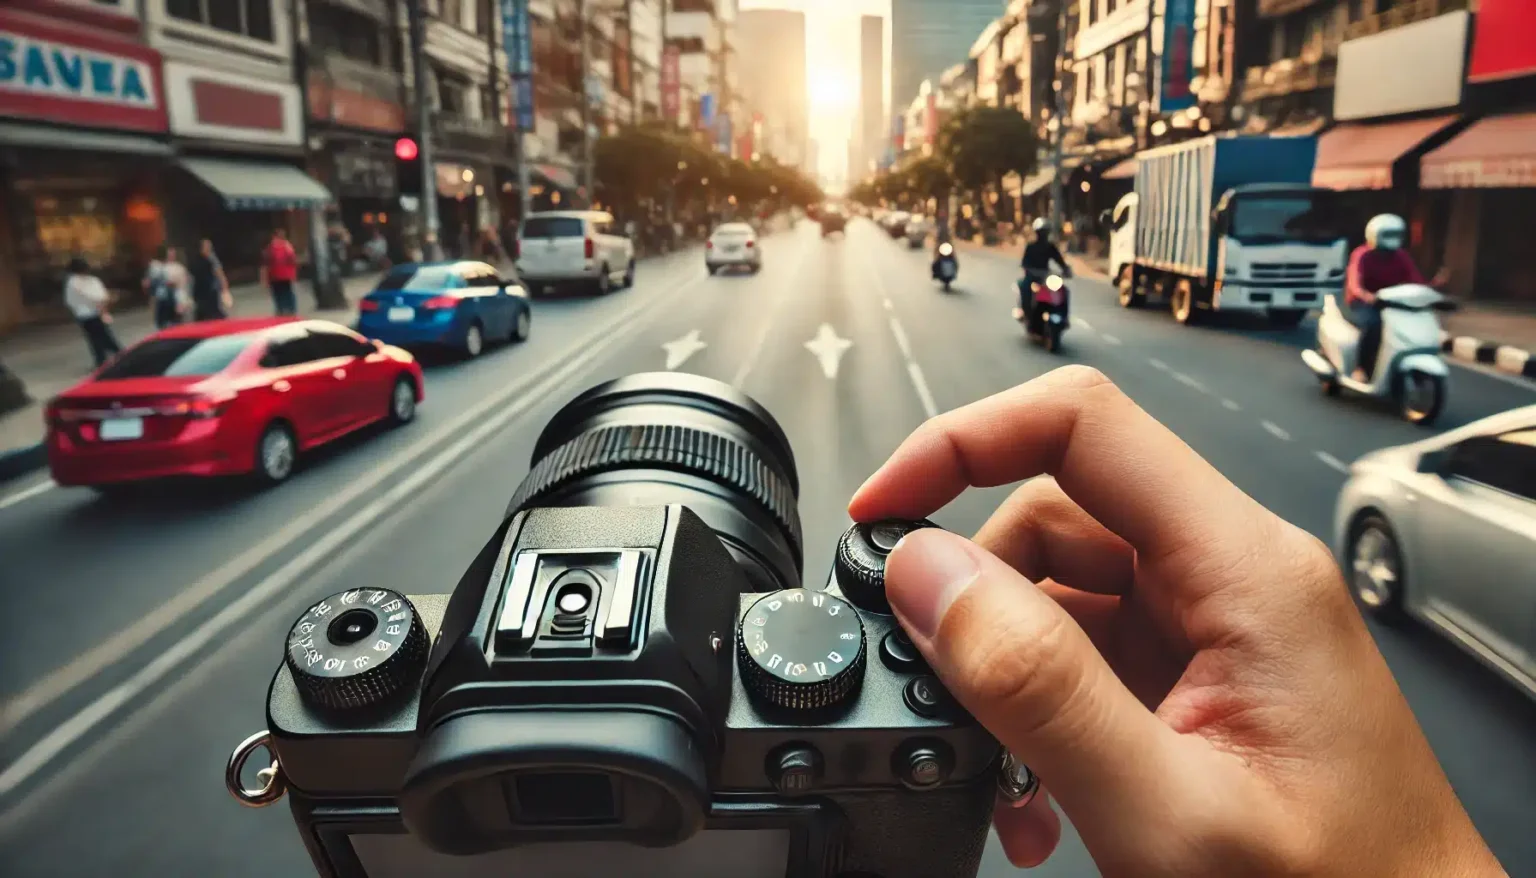
You’ve invested in a DSLR or mirrorless camera. You’ve explored the “Auto” mode. And now, you’re ready to level up — to unlock the creative control professionals use. Welcome to manual mode — the heartbeat of real photography.
At first, all those numbers and acronyms (ISO? f/2.8? 1/250?) can seem overwhelming. But don’t worry — this guide will break it down in plain English. By the end, you’ll understand how to shoot in manual with confidence, clarity, and creativity.
🎯 Why Switch from Auto to Manual?
Auto mode is like cruise control. It gets the job done, but you’re not really driving. The camera makes all the decisions — which often means missed creative opportunities or poorly exposed photos in tricky lighting.
Manual mode lets you:
- Control how bright or dark your photos are
- Create beautiful blurry backgrounds (bokeh)
- Freeze or blur motion
- Capture photos exactly the way you envision them
✨ Manual mode puts you in the driver’s seat of your creativity.
🔺 Understanding the Exposure Triangle
At the heart of manual photography are three settings that work together to determine exposure (how light or dark your photo is):
- ISO – Light sensitivity
- Aperture (f-stop) – How wide your lens opens
- Shutter Speed – How long your camera sees light
This trio is called the Exposure Triangle, and learning how they interact is the key to mastering manual settings.
🌡️ ISO: Light Sensitivity
ISO controls how sensitive your camera sensor is to light.
- Low ISO (100–400): Best for bright light. Produces clean, sharp images.
- High ISO (800–6400+): Better for dark environments but introduces grain or “noise.”
Think of ISO like your camera’s flashlight sensitivity.
Higher ISO = more sensitivity = brighter image (but grainier). Lower ISO = cleaner photo, but you’ll need more light.
🔧 Tip: Always aim to use the lowest ISO possible for your lighting conditions.
🎯 Aperture: Depth of Field (Blurry Background vs. Sharp)
Aperture refers to how wide the lens opens when taking a photo. It’s measured in f-stops like f/1.8, f/4, f/11, etc.
- Low f-stop (e.g., f/1.8): Wide opening = more light + shallow depth = blurred background
- High f-stop (e.g., f/11): Narrow opening = less light + deeper depth = more in focus
📷 Use low f-stop for portraits (beautiful background blur).
🌄 Use high f-stop for landscapes (sharp foreground and background).
💡 Quick analogy: Aperture is like your eye’s pupil — it opens wide in low light and narrows in bright light.
⏱️ Shutter Speed: Motion Control
Shutter speed controls how long your camera’s sensor is exposed to light. It’s measured in fractions of a second (like 1/500) or whole seconds (like 2″).
- Fast shutter (e.g., 1/1000): Freezes fast action (sports, wildlife)
- Slow shutter (e.g., 1/30 or slower): Adds motion blur or light trails (great for waterfalls, stars)
🚶♀️For handheld shots, use at least 1/60 to avoid blurry images from shaky hands.
📌 Tip: Use a tripod for anything slower than 1/60 to keep images sharp.
🧪 Putting It All Together: Finding the Right Balance
Adjusting one setting affects the others. Here’s how:
- If you widen your aperture (lower f-stop) to let in more light, you might need a faster shutter or lower ISO.
- If you increase your shutter speed to freeze action, you may need a higher ISO or wider aperture to maintain brightness.
🎨 Example Scenario: Portrait Outdoors
- ISO: 100 (bright light)
- Aperture: f/2.8 (blurry background)
- Shutter: 1/500 (freeze movement)
🎨 Example Scenario: Cityscape at Night
- ISO: 800–1600 (darker environment)
- Aperture: f/8 (wide focus)
- Shutter: 1/10 (tripod needed)
⚙️ How to Practice Manual Mode
Start simple:
- Switch your camera to Manual (M) mode.
- Set ISO based on lighting (100 for daylight, 800+ for indoors).
- Choose your aperture based on subject (low f-stop for portraits, high for scenery).
- Adjust shutter speed last to balance exposure.
- Take a shot — adjust as needed.
🧪 Try different combinations. Watch how each change affects the result. It’s like cooking — a little more of one thing, a little less of another, until it tastes (or looks) just right.
📷 Bonus Tools That Help
- Light Meter: Your camera’s light meter (visible in the viewfinder) helps you check if your exposure is too bright (+) or too dark (−).
- Histogram: A graph that shows how light is distributed in your image. Centered = good balance.
- Live View & Playback: Don’t guess — shoot and check. Adjust. Repeat.
🔁 Practice Challenge: 3 Easy Photo Drills
- The ISO Challenge: Take 3 photos at different ISO levels in the same setting and compare.
- Blur or Sharp?: Take a photo of a friend at f/2.8, then again at f/8. Watch the background change.
- Freeze vs. Motion: Photograph a moving subject (bike, pet, or car) at 1/1000 and then at 1/20.
🏁 Final Thoughts: From Auto to Artist
Learning manual settings is like learning to ride a bike — wobbly at first, but then second nature. Once you get comfortable, you’ll wonder how you ever shot in auto.
You’ll start thinking in light. You’ll anticipate blur. You’ll compose not just with your eyes — but with your settings.
So grab your camera. Switch to M. And start experimenting. Your next great photo isn’t about luck — it’s about learning to take control.